The Appointment Scheduler lets your clients easily book appointments with you online. You can also accept payments when appointments are booked when you link your Stripe Account and you can sync with your Google Calendar as well.
Scheduler Set Up
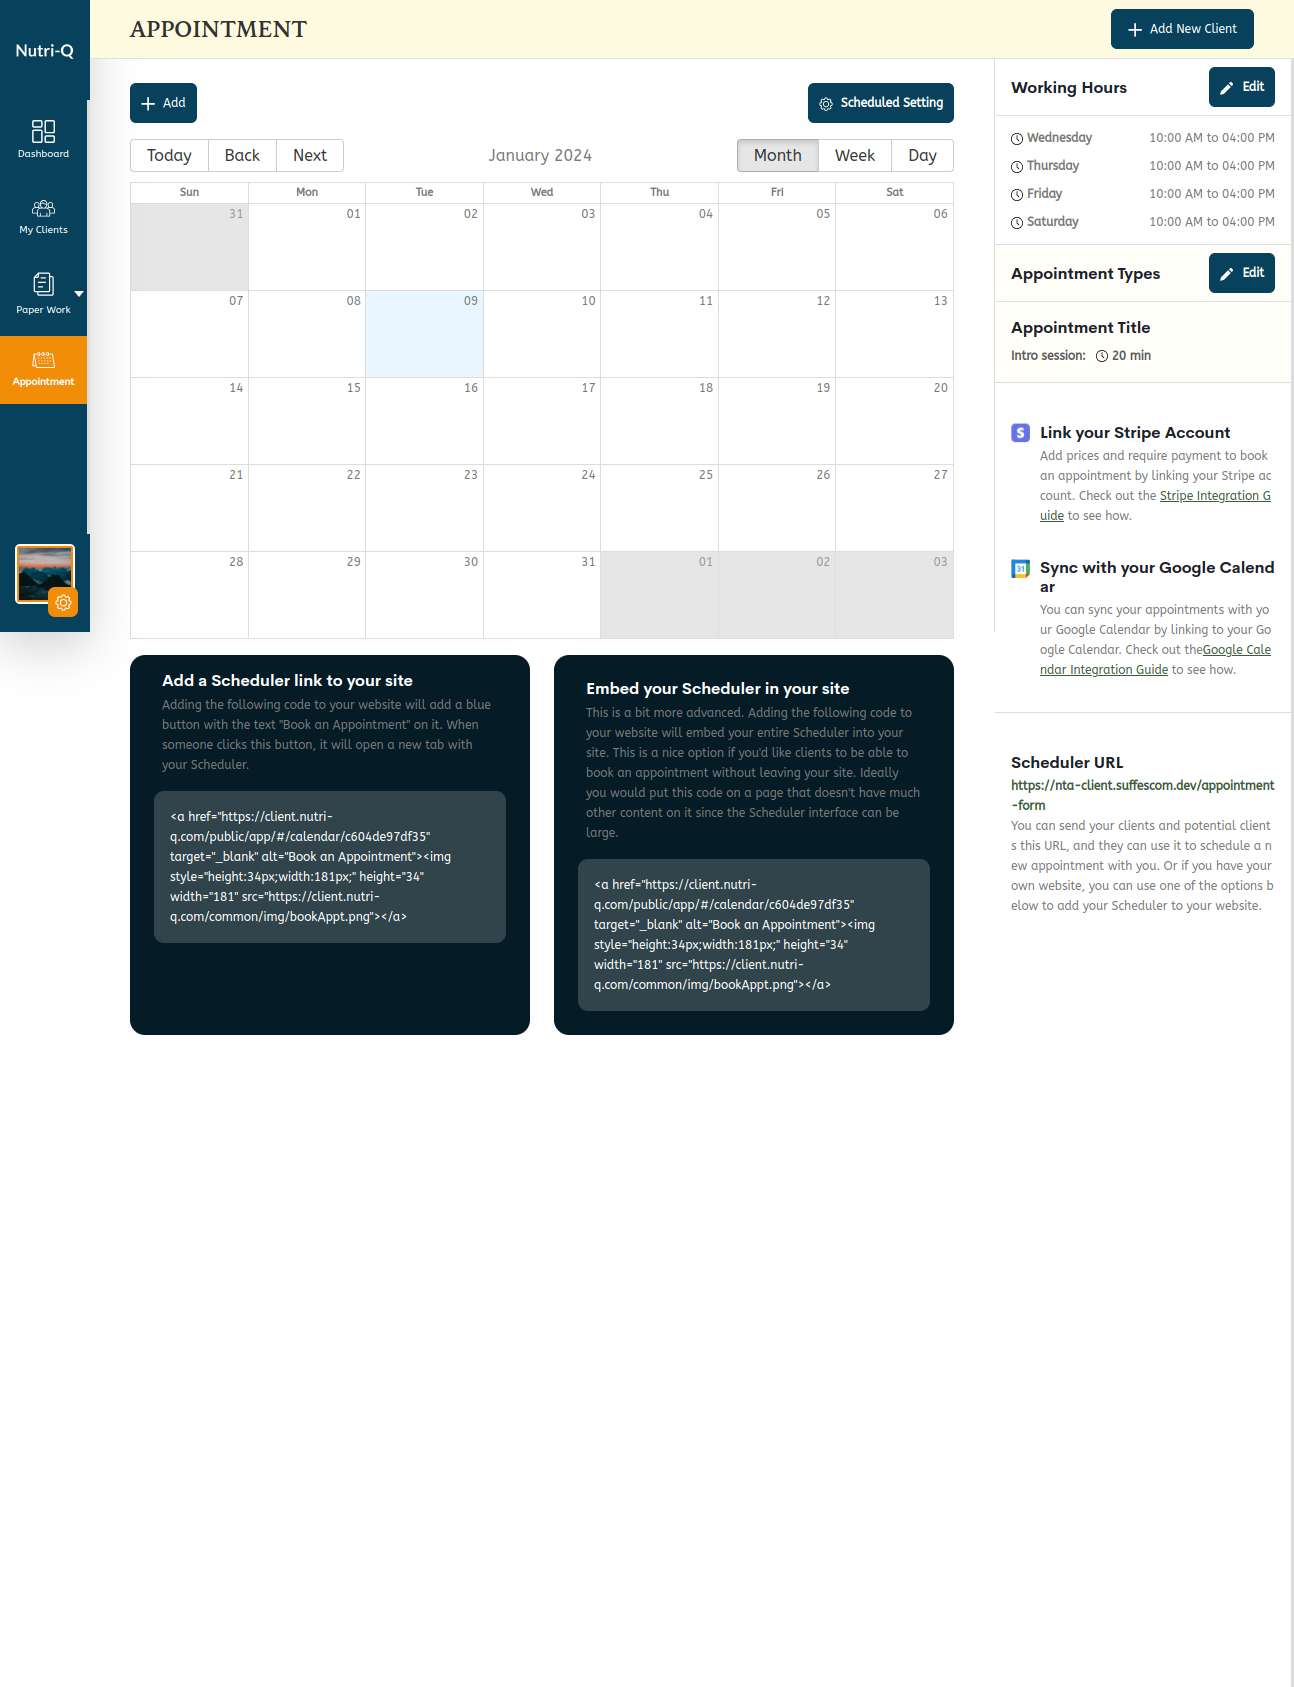
To start, click on ‘Appointments’ in the top navigation and you’ll see the below page. To get our scheduler up and running we’ll click on the ‘Setup My Appointment Scheduler’ button at the bottom of the page:

Time Zone
The site tries to guess which time zone you are currently in based on your browser settings and it will make that your time zone. If the time zone is incorrect or you’d like your calendar to be in a different time zone you can change it here. The scheduler handles all time zone conversions so your clients will always see your scheduler in their local time zone when booking an appointment. So if you have your scheduler set to Mountain Time and a client in California views your scheduler it will convert everything and display it in Pacific Time for that client.
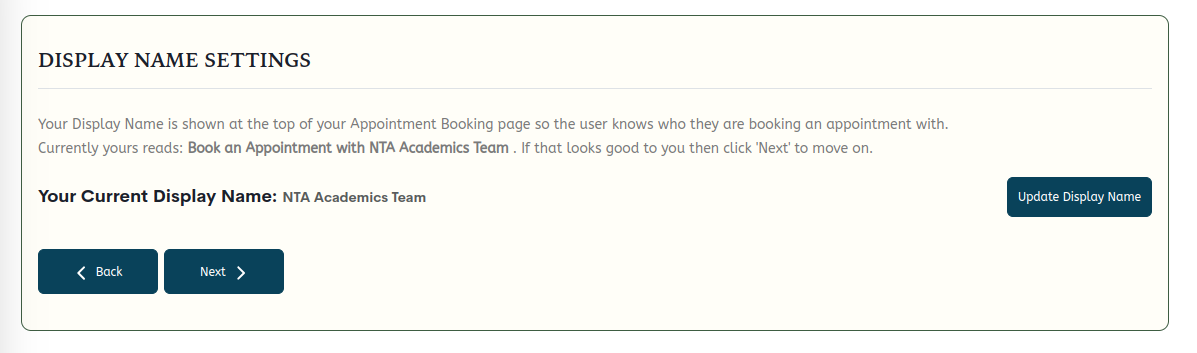
Display Name
This is the name that will be shown at the top of your scheduler. For example ours will read “Book an Appointment with Mojo Wellness”.
Contact Email
If you’d like to have your scheduler emails sent to a different email address than your primary Nutri-Q login email you can enter it here.
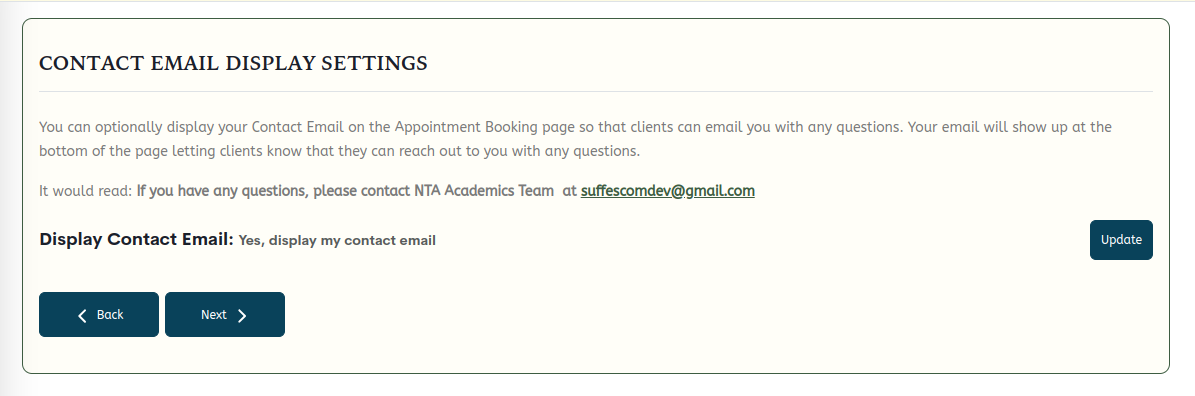
Show Contact Email
If set to ‘Yes’ we’ll show a line at the bottom of your scheduler that gives clients a way to contact you if they have questions when booking an appointment.
Reminders
When set to ‘Yes’ we’ll send your clients email reminders the day before their appointment.

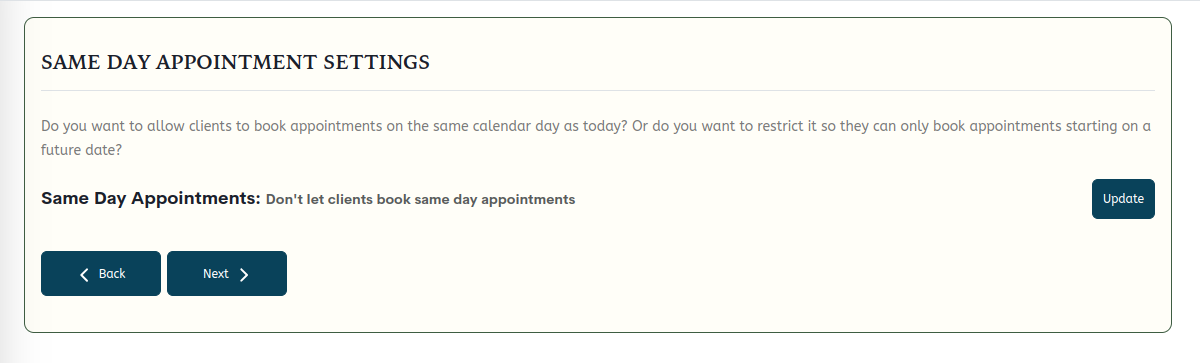
Same Day Appointments
This section lets you specify whether or not your clients are allowed to book appointments on the current day, following day or within the next week.
- Allow same day appointments
- By allowing same day appointments, your clients will be able to book any open appointment. For example, if today is March 5th, clients will be allowed to book appointments on March 5th.
- Don’t let clients book same day appointments
- By not allowing same day appointments, your clients won’t be able to book an appointment for today. For example, if today is March 5th your clients will only see openings on your calendar starting on March 6th.
- Don’t let clients book same or following day appointments
- By not allowing same or following day appointments, your clients won’t be able to book an appointment for today or tomorrow. For example, if today is March 5th your clients will only see openings on your calendar starting on March 7th.
- Don’t let clients book appointments within a week
- By not allowing clients to book appointments within a week, your clients won’t be able to book an appointment today and for the following 6 days. For example, if today is Monday March 5th your clients will only see openings on your calendar starting on Monday March 12th.
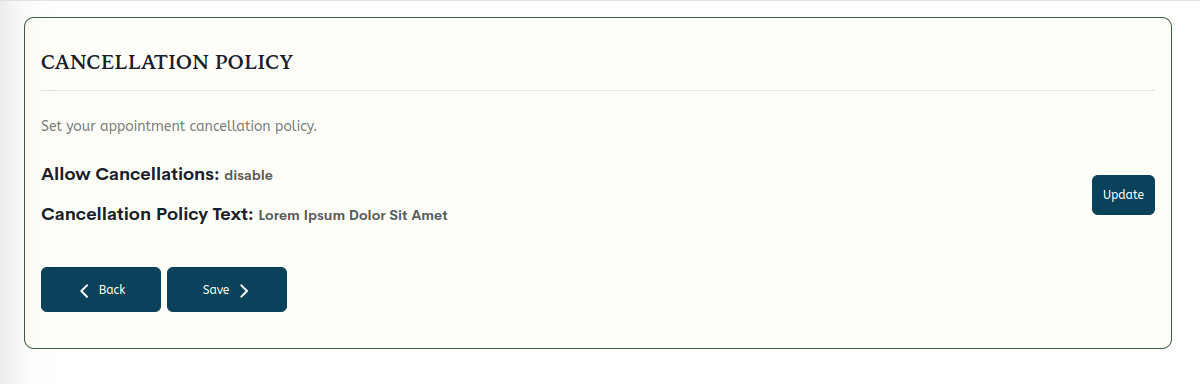
Cancellation Policy
There are 2 settings within the Cancellation Policy section:
- Allow Cancellations: This lets you set when a client can cancel their appointment. The options are:
- Appointments can be canceled anytime prior to the appointment start
- Appointments can’t be canceled within 24 hours of the appointment start
- Appointments can’t be canceled within 48 hours of the appointment start
- Cancellation Policy Text: If you have additional cancellation policy text that you would like to include, you can add it here. Note that if you select the 24-hour or 48-hour policy above, appropriate text will already be displayed when the client books their appointment, so there is no need to repeat that information in the Cancellation Policy Text.
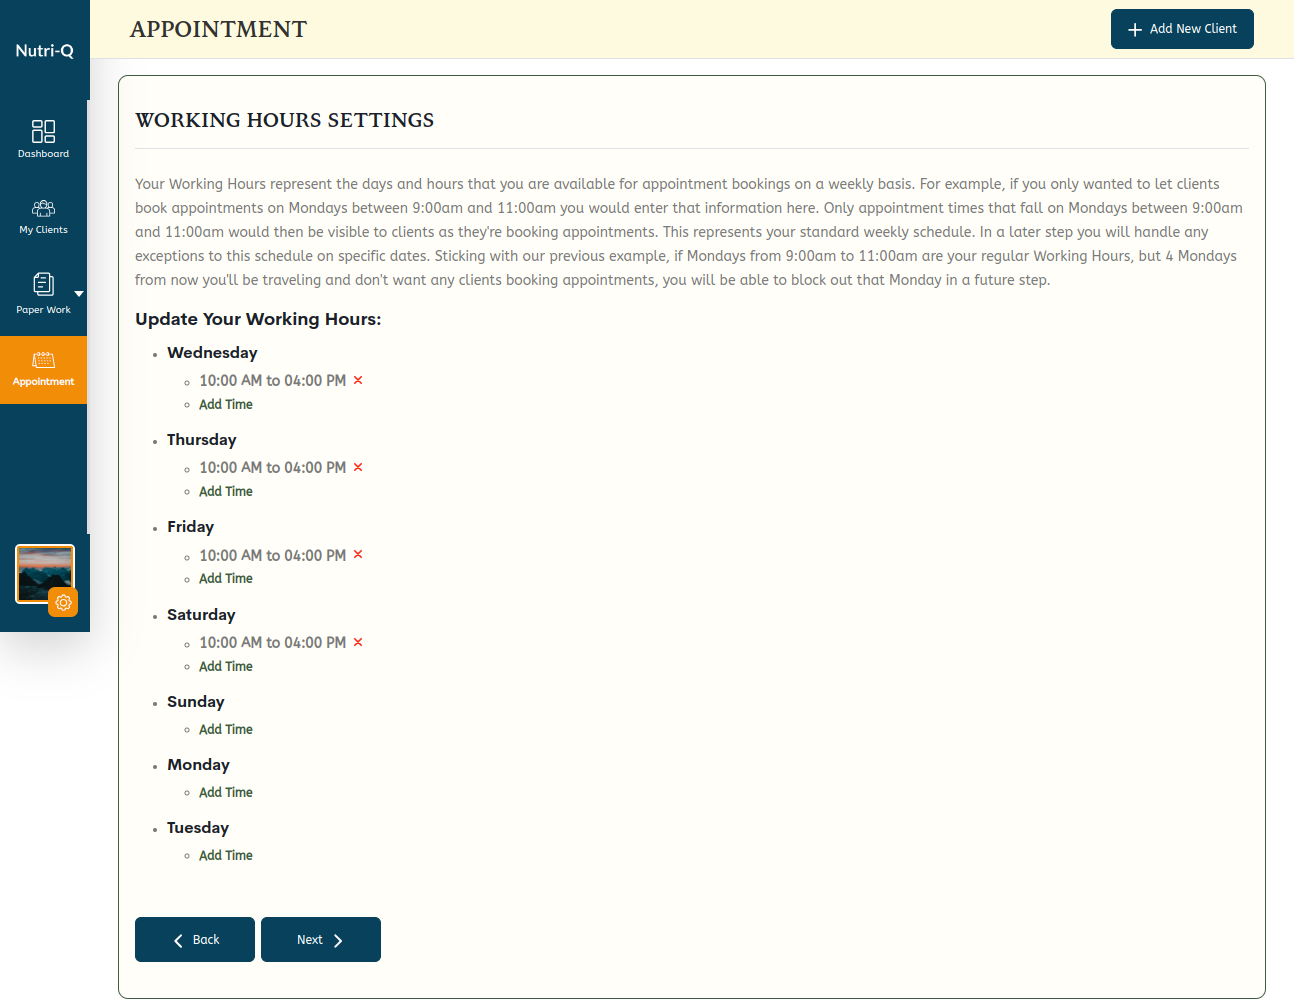
Working Hours
These are the days/times clients are allowed to book appointments with you. In our example we have clicked the ‘Add time’ link under Monday, Wednesday and Friday and said that on those days we work from 9am to 5pm.
- Allow Cancellations: This lets you set when a client can cancel their appointment. The options are:
- Appointments can be canceled anytime prior to the appointment start
- Appointments can’t be canceled within 24 hours of the appointment start
- Appointments can’t be canceled within 48 hours of the appointment start
- Cancellation Policy Text: If you have additional cancellation policy text that you would like to include, you can add it here. Note that if you select the 24-hour or 48-hour policy above, appropriate text will already be displayed when the client books their appointment, so there is no need to repeat that information in the Cancellation Policy Text.
Appointment Types
This is where you’ll create the actual appointment types that your clients can select from. For example, you might have 3 different appointment types: one for an initial call, one for 60-minute sessions and one for 90-minute sessions. Each practitioner is different so find what works best for you.
- Allow Cancellations: This lets you set when a client can cancel their appointment. The options are:
- Appointments can be canceled anytime prior to the appointment start
- Appointments can’t be canceled within 24 hours of the appointment start
- Appointments can’t be canceled within 48 hours of the appointment start
- Cancellation Policy Text: If you have additional cancellation policy text that you would like to include, you can add it here. Note that if you select the 24-hour or 48-hour policy above, appropriate text will already be displayed when the client books their appointment, so there is no need to repeat that information in the Cancellation Policy Text.

Appointment Types
This is where you’ll create the actual appointment types that your clients can select from. For example, you might have 3 different appointment types: one for an initial call, one for 60-minute sessions and one for 90-minute sessions. Each practitioner is different so find what works best for you.
In our example, we’ll go ahead and click on the green ‘Add New Appointment Type’ button and create a simple Free Initial Call appointment type. Note that we have alreadylinked our Stripe Account so we see the ‘Payment’ section where we can require payment for this type of appointment. Check out the Stripe Integration Guide for more details.
After we save our new appointment type, we get a summary view of the appointment. If you have 2 or more appointment types you can update the order that they’ll be displayed to the client by clicking on the two ‘Move’ buttons at the bottom of each appointment type.

Blocks
If you know of future dates that you’d like to block out so clients aren’t able to book appointments during those times, you can add them here. You can also easily add them later once the setup is complete.

Setup is Done
We’ve now setup our scheduler! You can click on the ‘View your Scheduler’ to preview your scheduler in a new tab.
Preview
Here’s what our preview looks like. We only created one appointment type so that is the only option we can select from. We’ll walk through a client selecting and booking an appointment in subsequent articles.
Finish
We can now jump back to the setup view and click on the ‘Finish’ button:
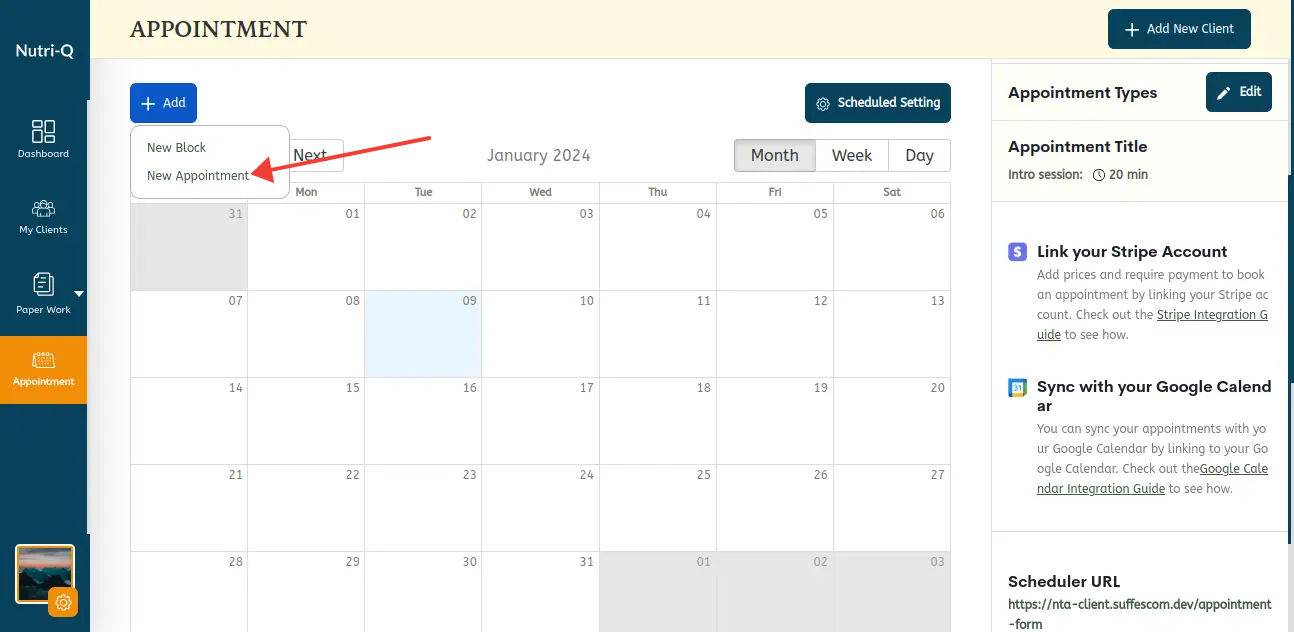
Updated Appointments View
We are now back on our ‘Appointments’ page and a lot has changed since we have now setup our scheduler. Check out the following articles to learn more about the Appointments page and how clients book appointments.