Make sure you have completed theAppointment Scheduler Set Up first.
Ways to book an appointment
There are 3 different ways to book an appointment. They all follow the same workflow where you (or your client) first select an appointment type and then choose from the available dates/times. Then any additional client information is entered and the appointment is booked. Here are the 3 different ways to book an appointment:
- The client uses the public Scheduler URL
- A client would go to your public Scheduler URL, select an appointment type, pick an open date/time, and then fill out their information (name, email and phone). Since this appointment was booked through the public site it is not linked to any of your existing clients.
- The practitioner books the appointment for their client
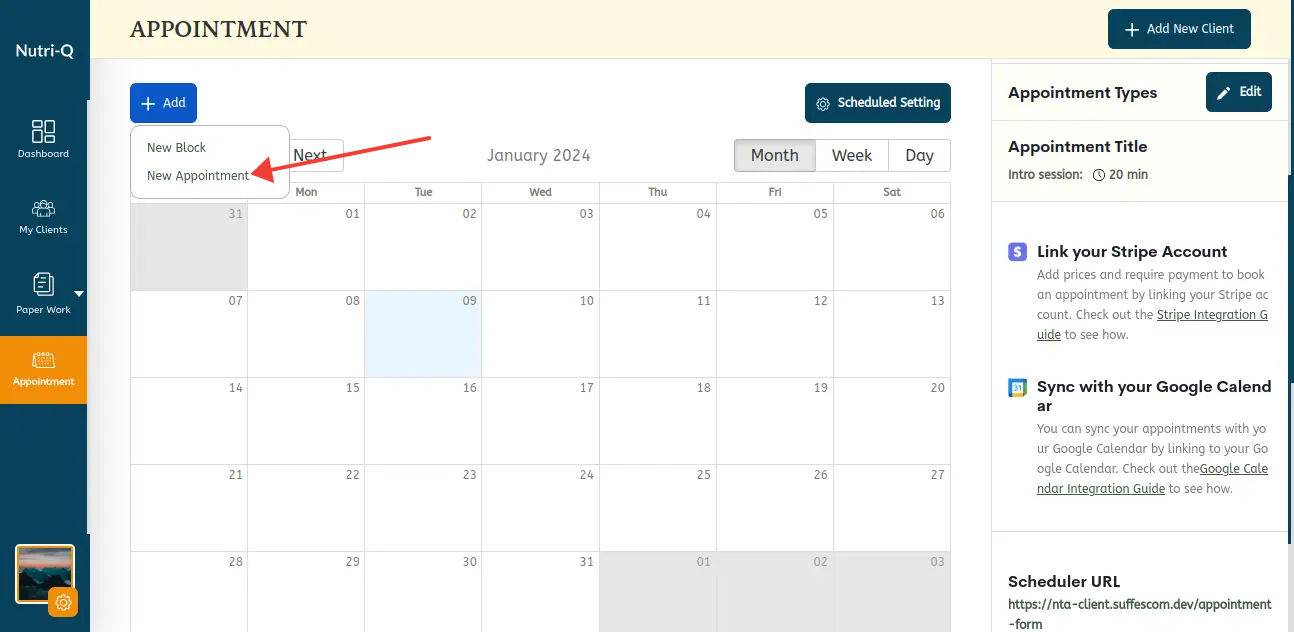
- You can book an appointment for a client by going to the Appointments page, clicking on the ‘Add’ button, and selecting ‘Book an Appointment’. This will associate the appointment with that specific client’s record.
Ways to book an appointment
There are 3 different ways to book an appointment. They all follow the same workflow where you (or your client) first select an appointment type and then choose from the available dates/times. Then any additional client information is entered and the appointment is booked. Here are the 3 different ways to book an appointment:
- The client uses the public Scheduler URL
- A client would go to your public Scheduler URL, select an appointment type, pick an open date/time, and then fill out their information (name, email and phone). Since this appointment was booked through the public site it is not linked to any of your existing clients.
- The practitioner books the appointment for their client
- You can book an appointment for a client by going to the Appointments page, clicking on the ‘Add’ button, and selecting ‘Book an Appointment’. This will associate the appointment with that specific client’s record.Alternatively, you can bring up a client’s record and then go to their ‘Info & Settings’ tab. Under the ‘Client Appointments’ section you can then book an appointment for that client. This will also associate the appointment with that specific client’s record.
- You can book an appointment for a client by going to the Appointments page, clicking on the ‘Add’ button, and selecting ‘Book an Appointment’. This will associate the appointment with that specific client’s record.
- A logged in client books an appointment
- This only applies to Active Clients, which log into Nutri-Q. When a client logs into the site they are able to book an appointment with you from their Dashboard by clicking ‘Book a new appointment’. This will also associate the appointment with that specific client’s record.
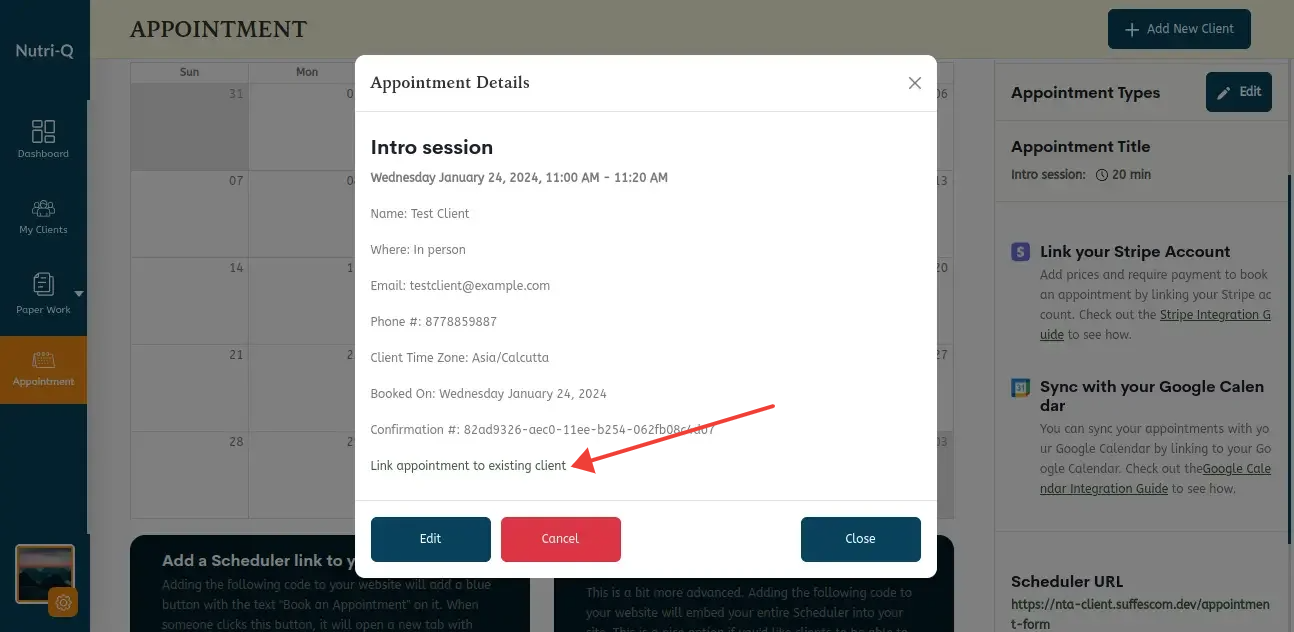
The 2nd and 3rd options listed above will link the appointment with an existing client’s record, which means that it will show up on the client’s dashboard (for Active Clients) and also on the practitioner’s view for that client. If an existing client uses the public Scheduler to make their appointment, you can always link that appointment to the appropriate client later by clicking on the appointment on your Appointments page and then clicking ‘Link appointment to existing client’.
Booking an appointment with your public Scheduler URL
To book an appointment using your public Scheduler URL, we’ll start by going to our Appointments page, scrolling down to the ‘Helpful Information’ section, and clicking on our Scheduler URL. This will open our scheduler in a new tab.
Now we are having the same experience as a client who would like to book an appointment with us. In our example we only set up one appointment type, so we’ll go ahead and select that one:
The calendar shows the days that currently have availability based on our working hours, previously booked appointments, and the duration of the selected appointment type. We’ll select the option below.
Next, as a client, we’ll enter our information and click the ‘Finalize Booking’ button at the bottom:
Lastly, as a client, we get a confirmation screen stating that our appointment has successfully been booked. The client will also receive a confirmation email with all of the appointment details.
Now jumping back to the practitioner’s view, if we go to our Appointments Page, we’ll see that the new appointment is now on our calendar. If we click on this appointment, additional information is shown in a popover:
As the practitioner, we also get an email notification letting us know that a new appointment was booked:
As the practitioner, we also get an email notification letting us know that a new appointment was booked: