Link your Stripe Account and have the option to require payments for Packages and Appointments. If you haven’t set up your Nutri-Q Appointment Scheduler yet, check out our guide: Appointment Scheduler Set Up
If you don’t already have a Stripe account, no worries. You can set one up in the steps below.
Linking your Stripe Account
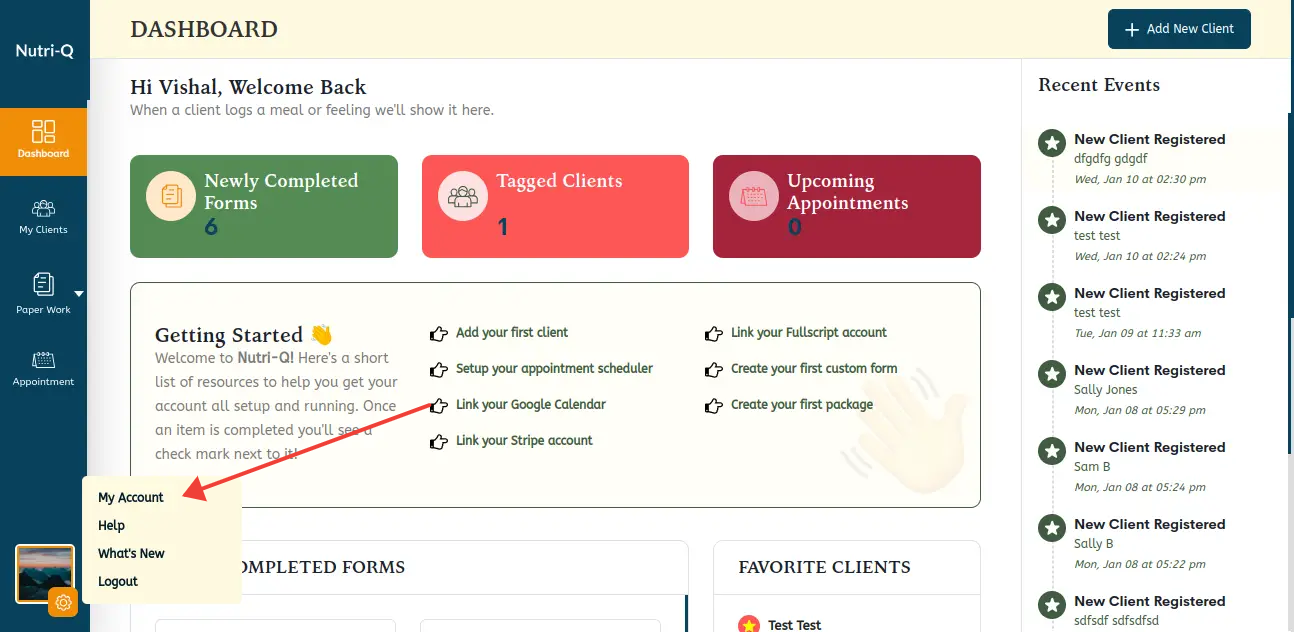
Start by logging into your Nutri-Q account. Then click on the icon in the top right corner and then choose ‘My Account’:
Once on the ‘My Account’ page, click on the ‘3rd Party Integrations’ tab in the left column. Next, locate the Stripe section and click the ‘Link your Stripe account’ button. If you don’t already have a Stripe account, you can create one during this process as well:

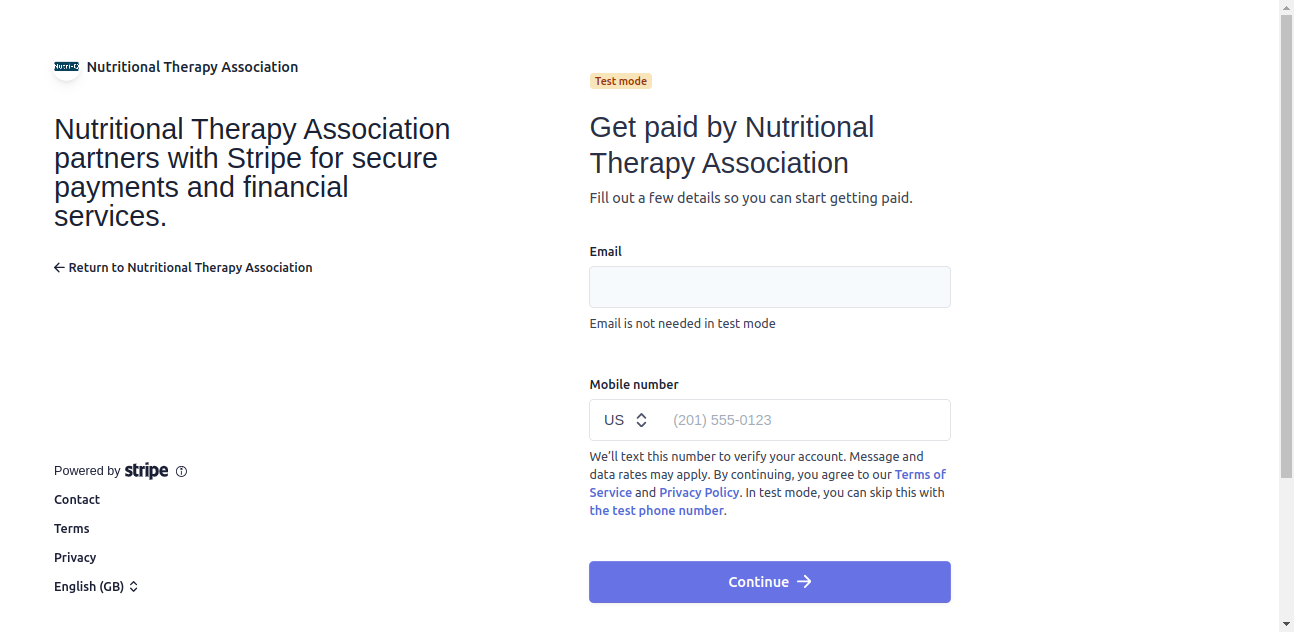
You’ll then be redirected to a Stripe page so you can set up a Connected Account. It’s good to note that this will technically be a new stripe account that is separate from your existing Stripe account(s). This is the standard process Stripe uses, and it ensures that Nutri-Q only has access to this new Connected Account and not to any of your other Stripe accounts.
If you already have a Stripe account we recommend using the same email that you use to log into that Stripe account. This will allow you to re-use all of your previously entered information and make the setup quick and easy.
In this example we already have a Stripe account, so we used the same email from our existing Stripe account. After we authenticate, we will see the following screen. We’ll re-use all of the business information that we already have in Stripe for our other account, so we’ll select that option and click ‘Continue’:
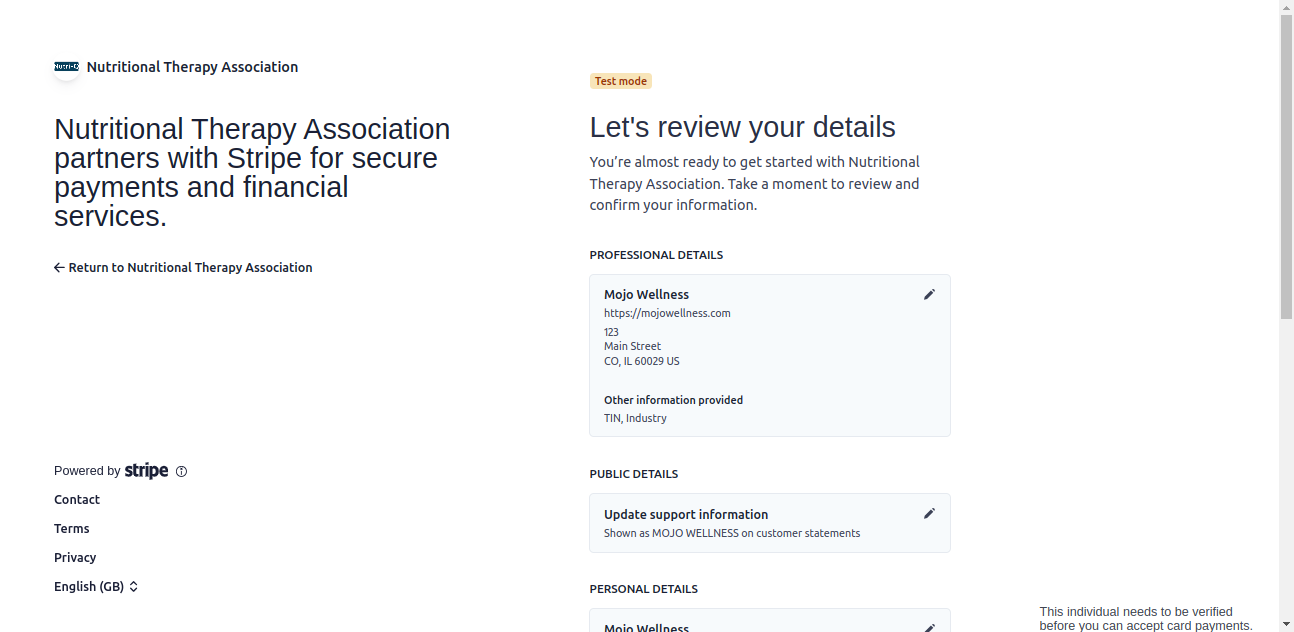
Next, we’ll see more of the business information that Stripe has copied from our existing account. You are able to update any information on this screen as well. If everything looks good, scroll down to the bottom and click ‘Submit’.
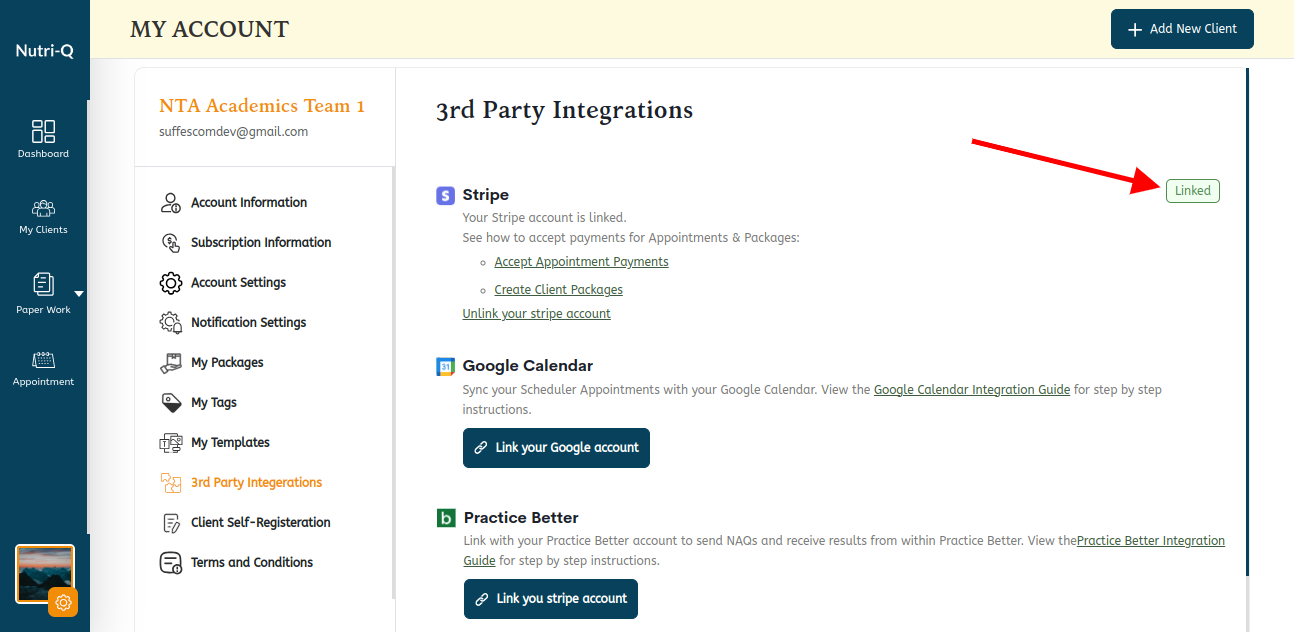
After you submit, you will be redirected back to the Nutri-Q site. You should now see ‘Linked’ next to the Stripe integration:
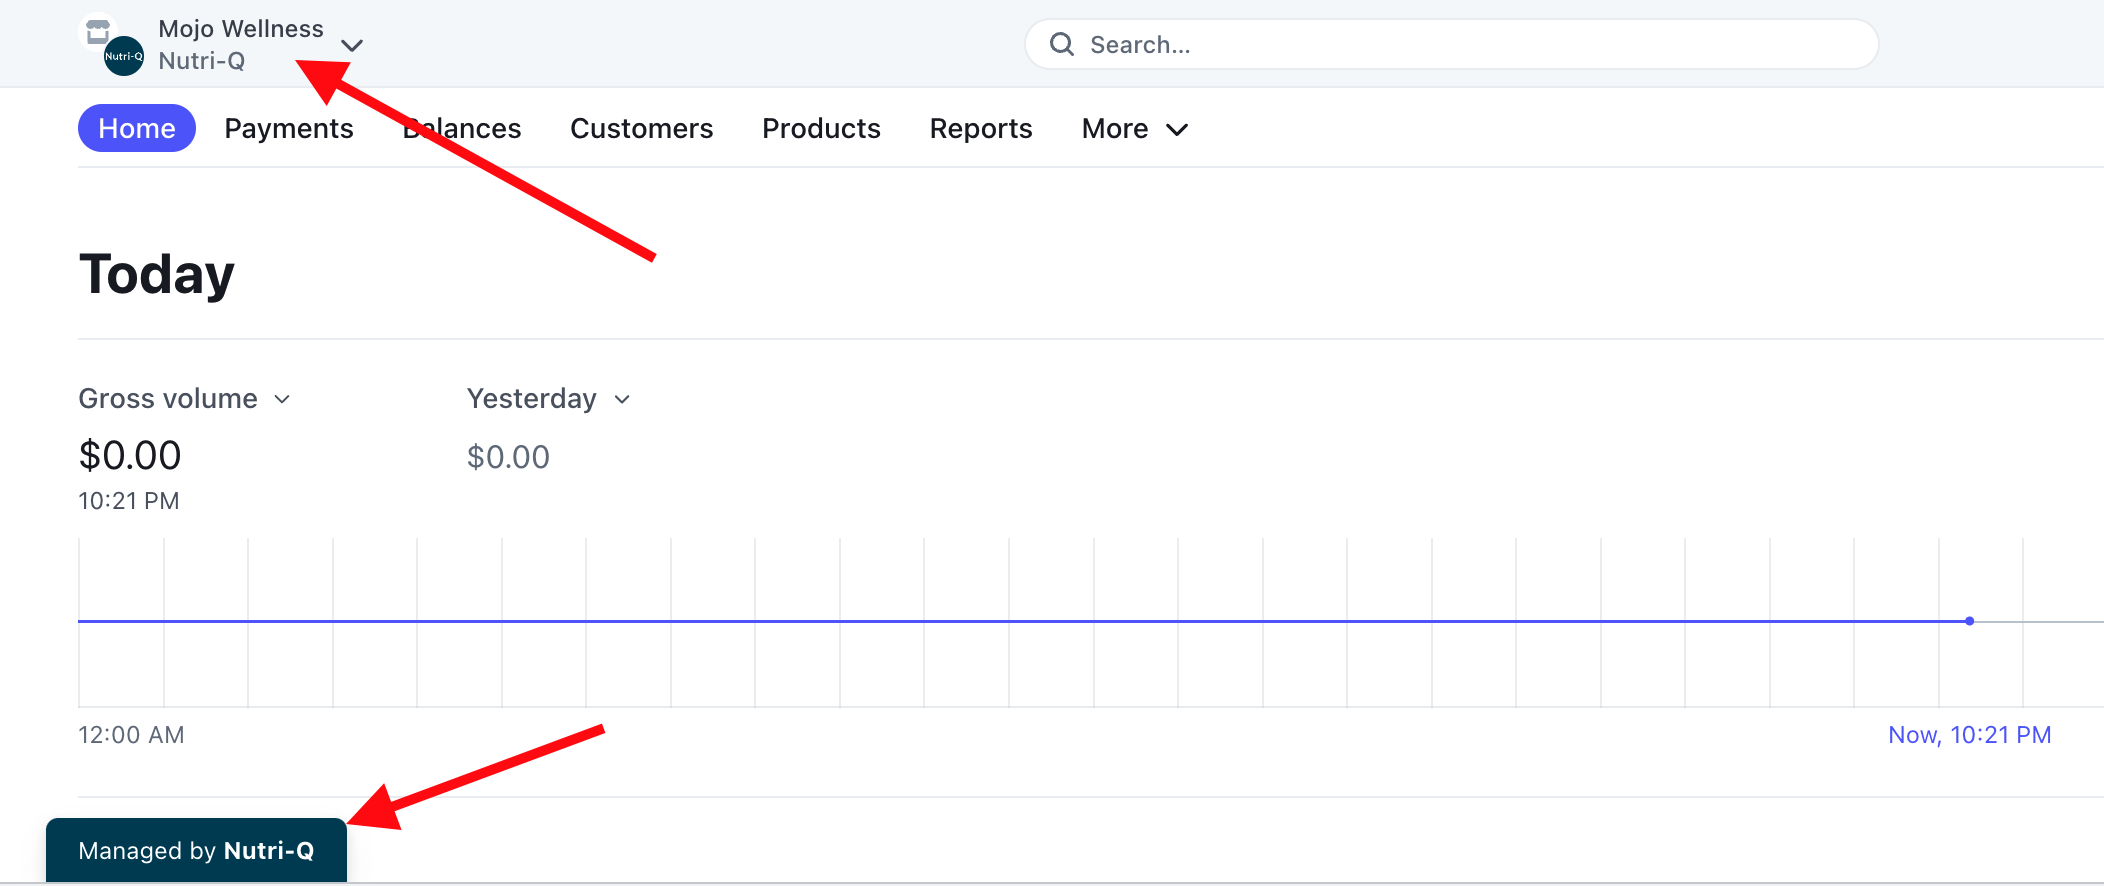
Now when you log into your Stripe account, you’ll notice that you can toggle between your Stripe accounts in the top left corner. The new Connected Account shows that it’s linked to Nutri-Q, and when you select that account, you’ll also see a message at the bottom stating that it’s managed by Nutri-Q. This allows the Nutri-Q site to charge clients on your behalf and have the funds go to this specific account. You’ll also have access to all of the transaction information, which we’ll cover in the next section.
That’s it for linking your Stripe account. The next section shows how you can accept payments for appointments.