Make sure you have completed the Appointment Scheduler Set Up first.
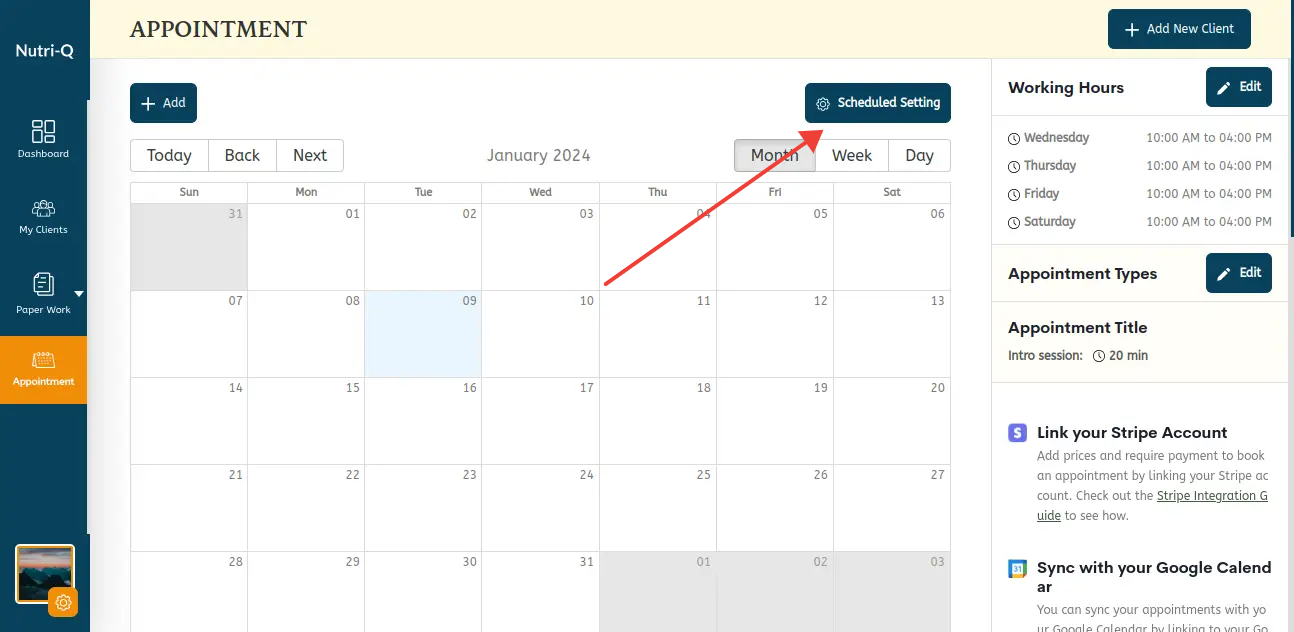
Once you have completed the setup, your Appointments page should look something like the image below. In this article we’ll walk through the different sections.
Settings
If you ever need to view or edit any of your scheduler settings, you can always click on the ‘Scheduler Settings’ link in the top right corner:
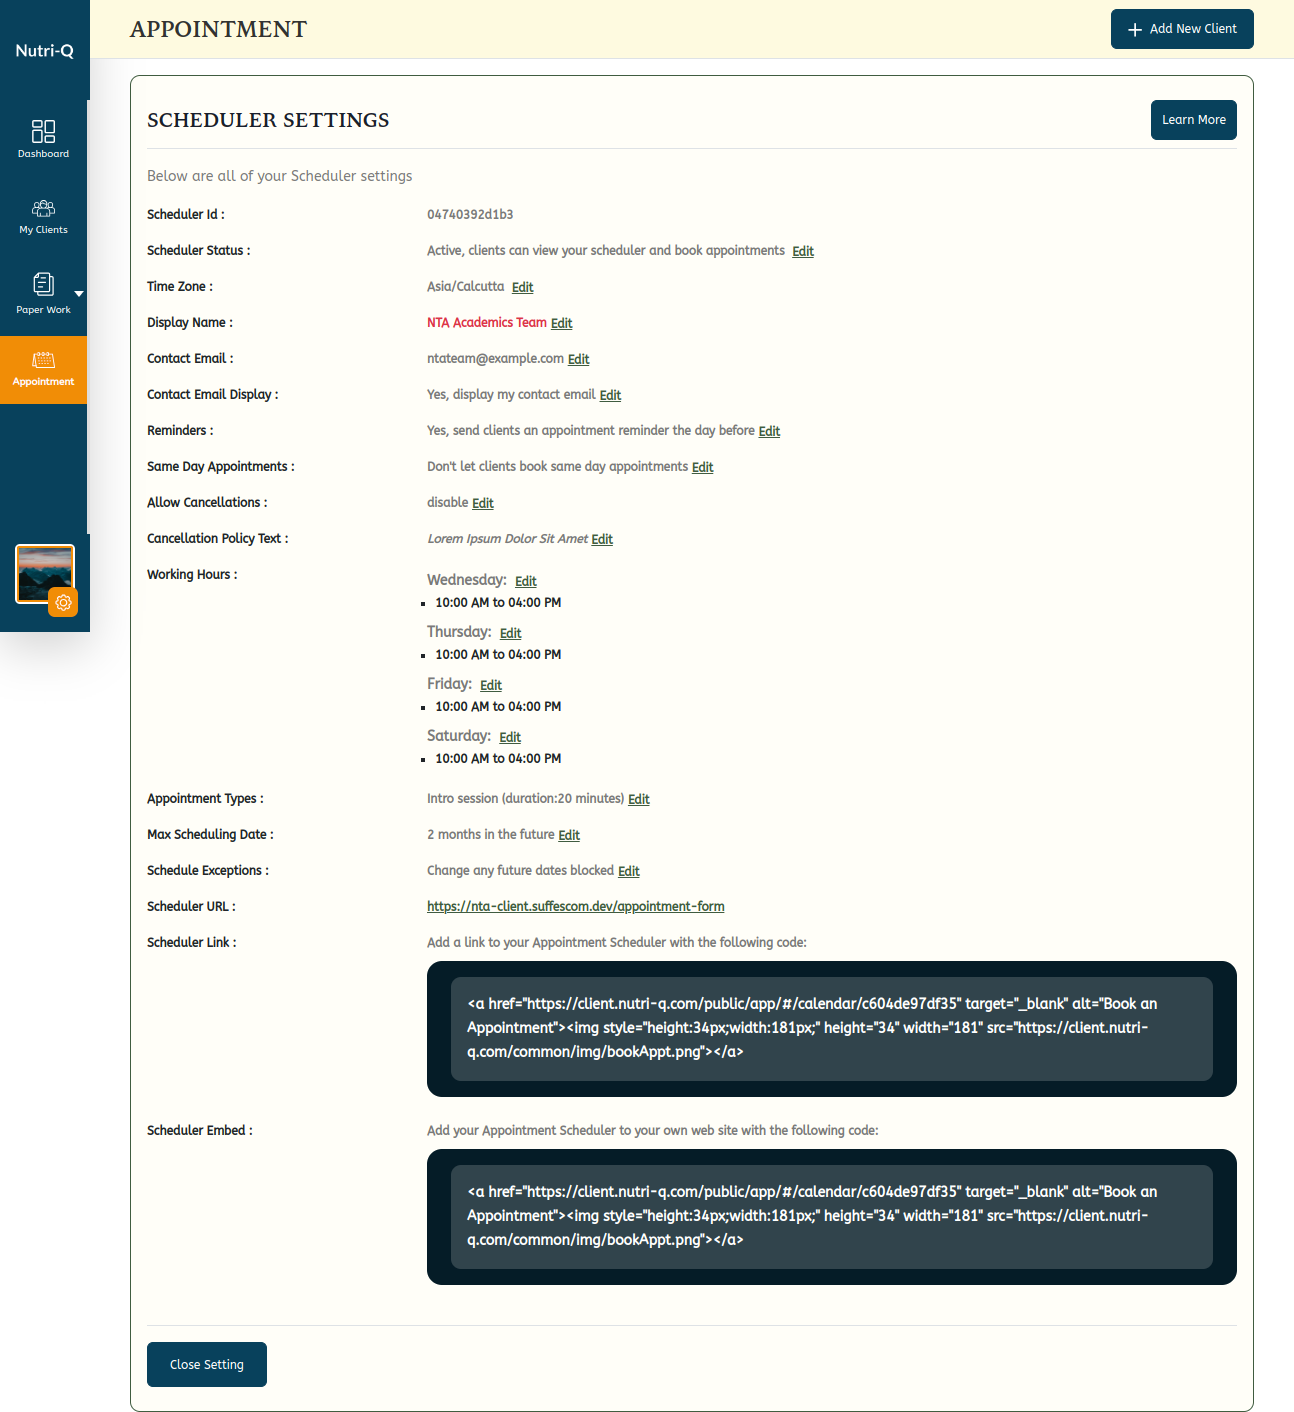
This will display all of your settings in one view and allow you to update/edit any of them:
My Schedule
The calendar schedule view at the top of the page shows your past and future appointments, along with your working hours, and it also allows you to add calendar blocks directly on your calendar. See the below diagram for more details:
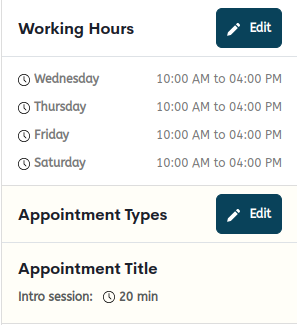
Below your schedule view you’ll find the ‘Working Hours’ and ‘Appointment Types’ modules. These give you quick access to view and edit your working hours and appointment types:
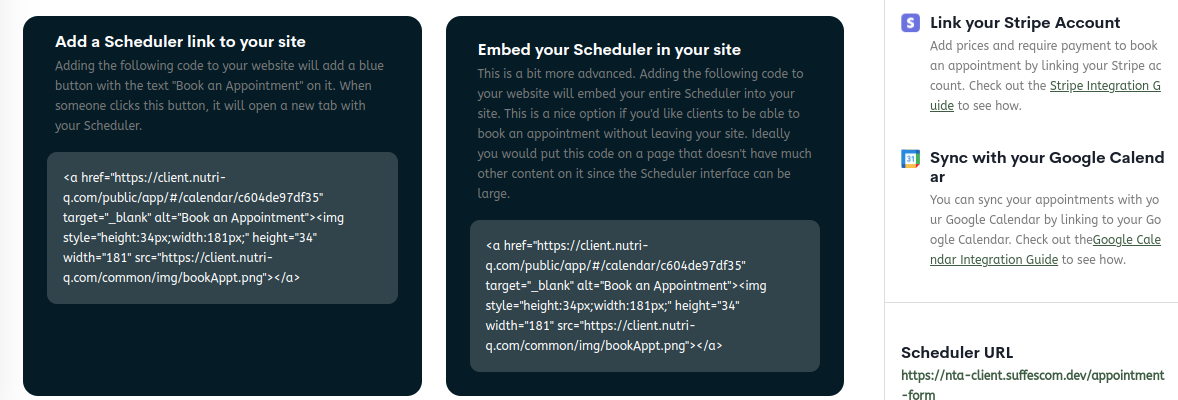
To the right of these modules, you’ll find the ‘Helpful Information’ module, which gives you access to your Scheduler URL. (This is the link that you can send to clients so that they can book an appointment with you.) This module also as information on imbedding a calendar button or the full scheduler in your own website: