In this article we’ll be adding a regular ‘Full Account’ Client Type, which means that the client will create their own client account with an email/password in the client portal. They will log into the client portal to complete any Forms/Questionnaires etc that you assign to them. The site also allows you to set up ‘Direct Link Clients’, which don’t create accounts. You can learn more about the different client types by viewing the FAQ on Client Types.
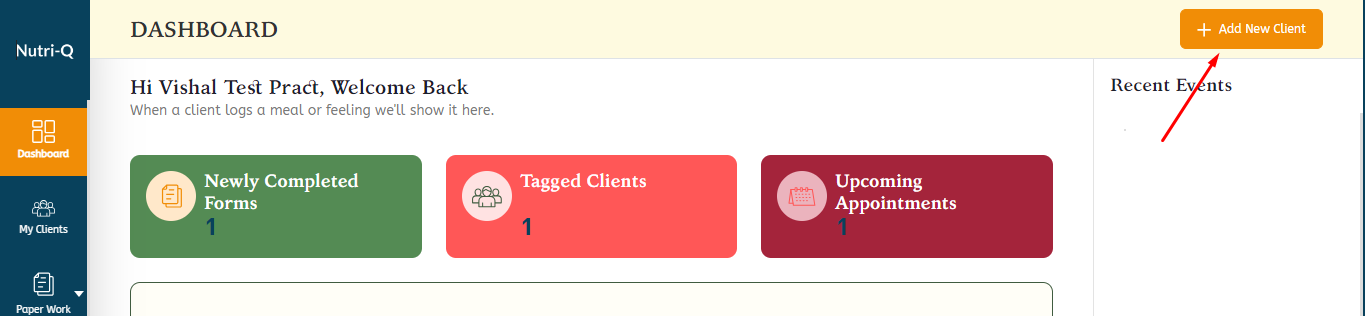
Start by logging into your Nutri-Q account, then click ‘Add New Client’ in the top navigation on the right side:
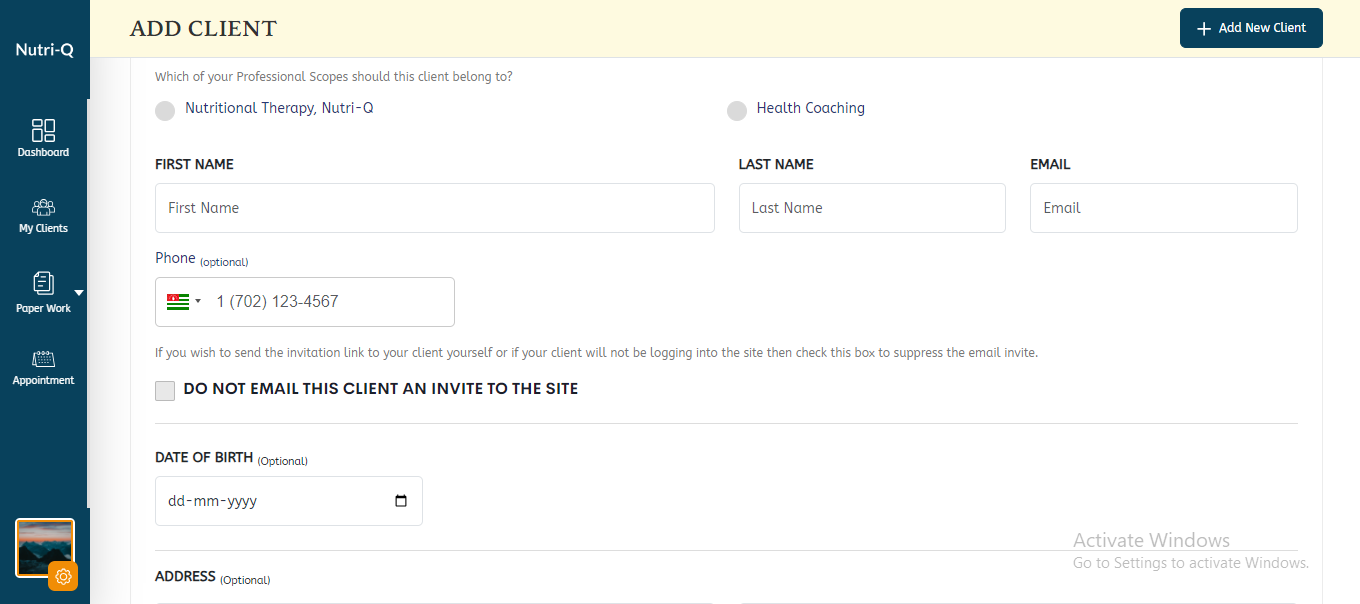
Next we’ll add our client’s name, email etc. Many of the fields are optional so fill in the information you would like to include in your client’s record:
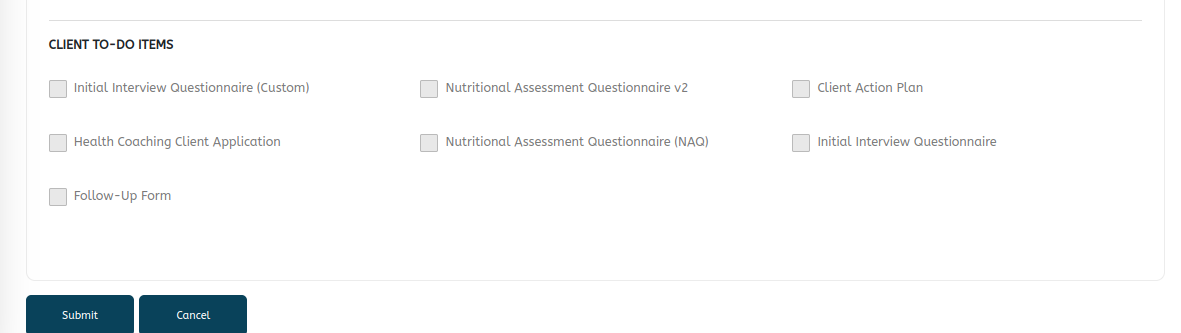
Scrolling down the page, at the bottom we can choose to assign our client one or more ‘To-Do’ items, which they will be asked to complete after they log into the site for the first time. So in our example below, our new client will create their account and then once they are logged into the client portal they will see that they have been assigned a Nutritional Assessment Questionnaire (NAQ):
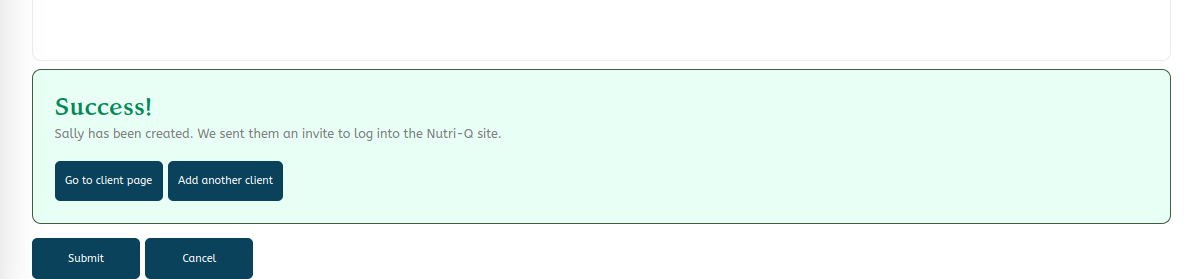
Next we’ll click the ‘Submit’ button and we’ll see a success message letting us know we have successfully added our new client and they have been sent an invite to the site:
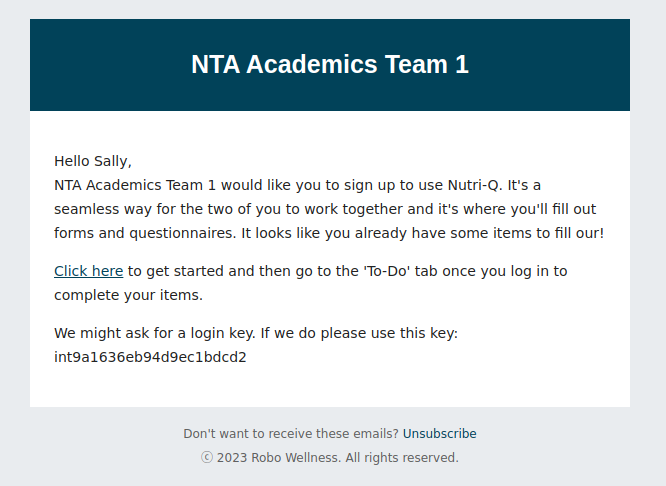
The client will receive an email that looks like the below. We called our practice ‘Mojo Wellness’ so that is the the title shown in the email. Practitioners are CCed on all client emails so if your client can’t find the invite email you can easily forward it to them from your inbox as well if needed:
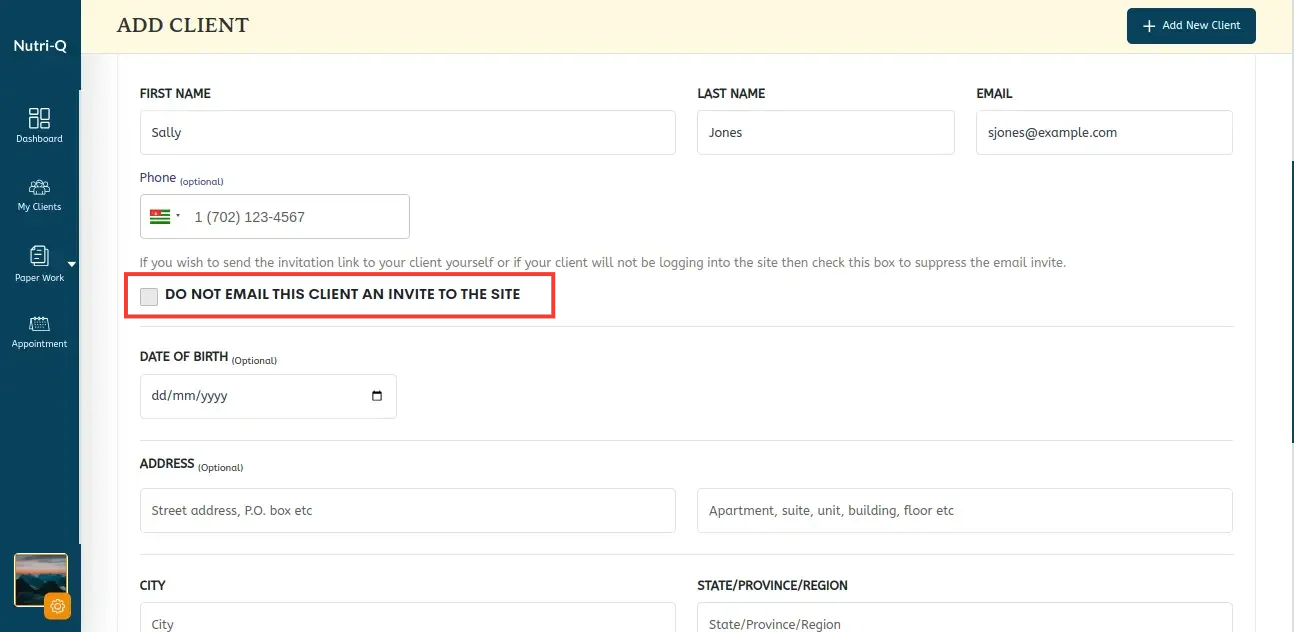
If you’d like to send your clients a custom message in the invite, we’d suggest checking the ‘Do not email’ checkbox when adding a new client to the site:
Then after you have added the new client, you can copy the invite link and send it to them from your own email with your message:

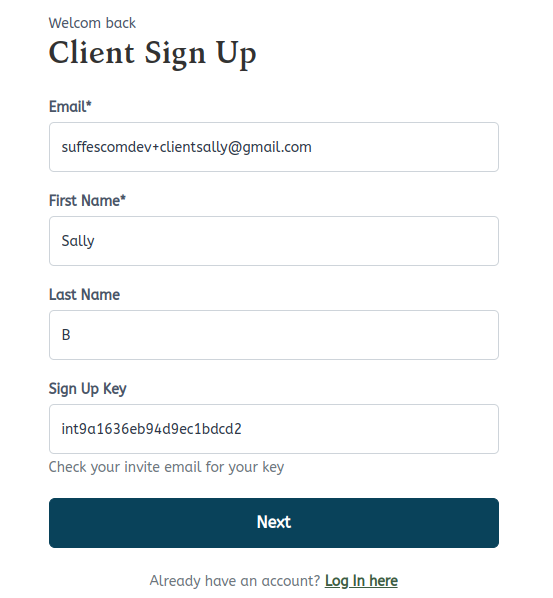
Whichever way you choose to provide the invite link to your client, the next step will be for the client to click on the invite link. They are then taken to the client portal sign-up page with their email already pre-populated. (They are also free to update their login email to whatever they’d like here as well). The client then clicks on the ‘Next’ button:
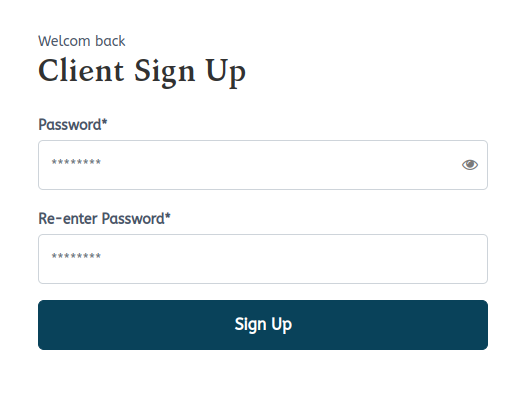
The client will then create a password and click ‘Sign Up’:
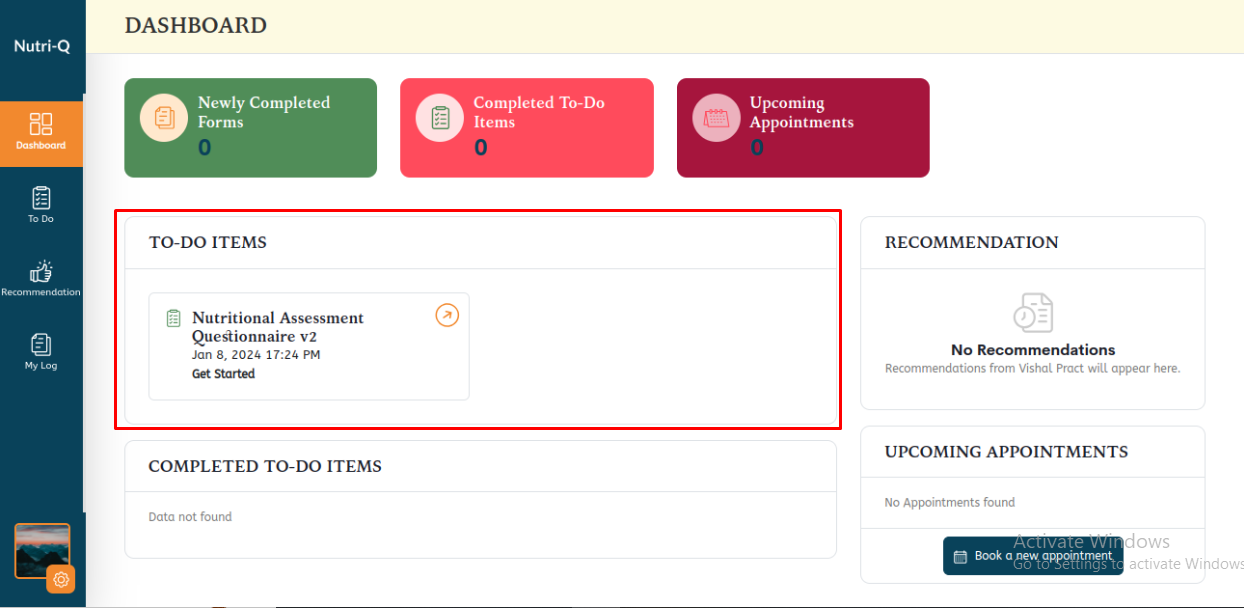
After agreeing to the terms, the client is then taken to their Dashboard page where they will see any To-Do items you have assigned to them listed at the top of the page:
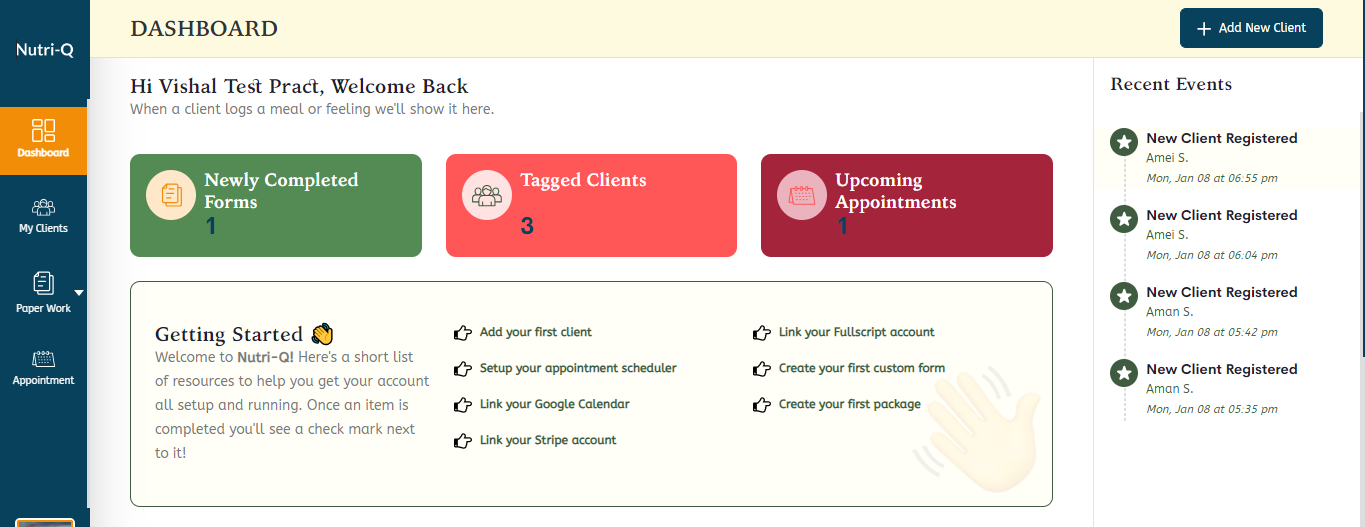
On the practitioner’s side, we’ll see our client’s progress as they’re signing up for the site in the Recent Events module of our Dashboard:
One excellent way to fully understand the workflow for adding clients, completing to-do items and viewing results is to add yourself as a practice client. You’re free to use the same email in the client portal as you do in the practitioner portal or you can use a different email. Just add yourself and fill out a few forms to get a feel for how everything works. That way you’ll be prepared to answer any client questions that might come up.